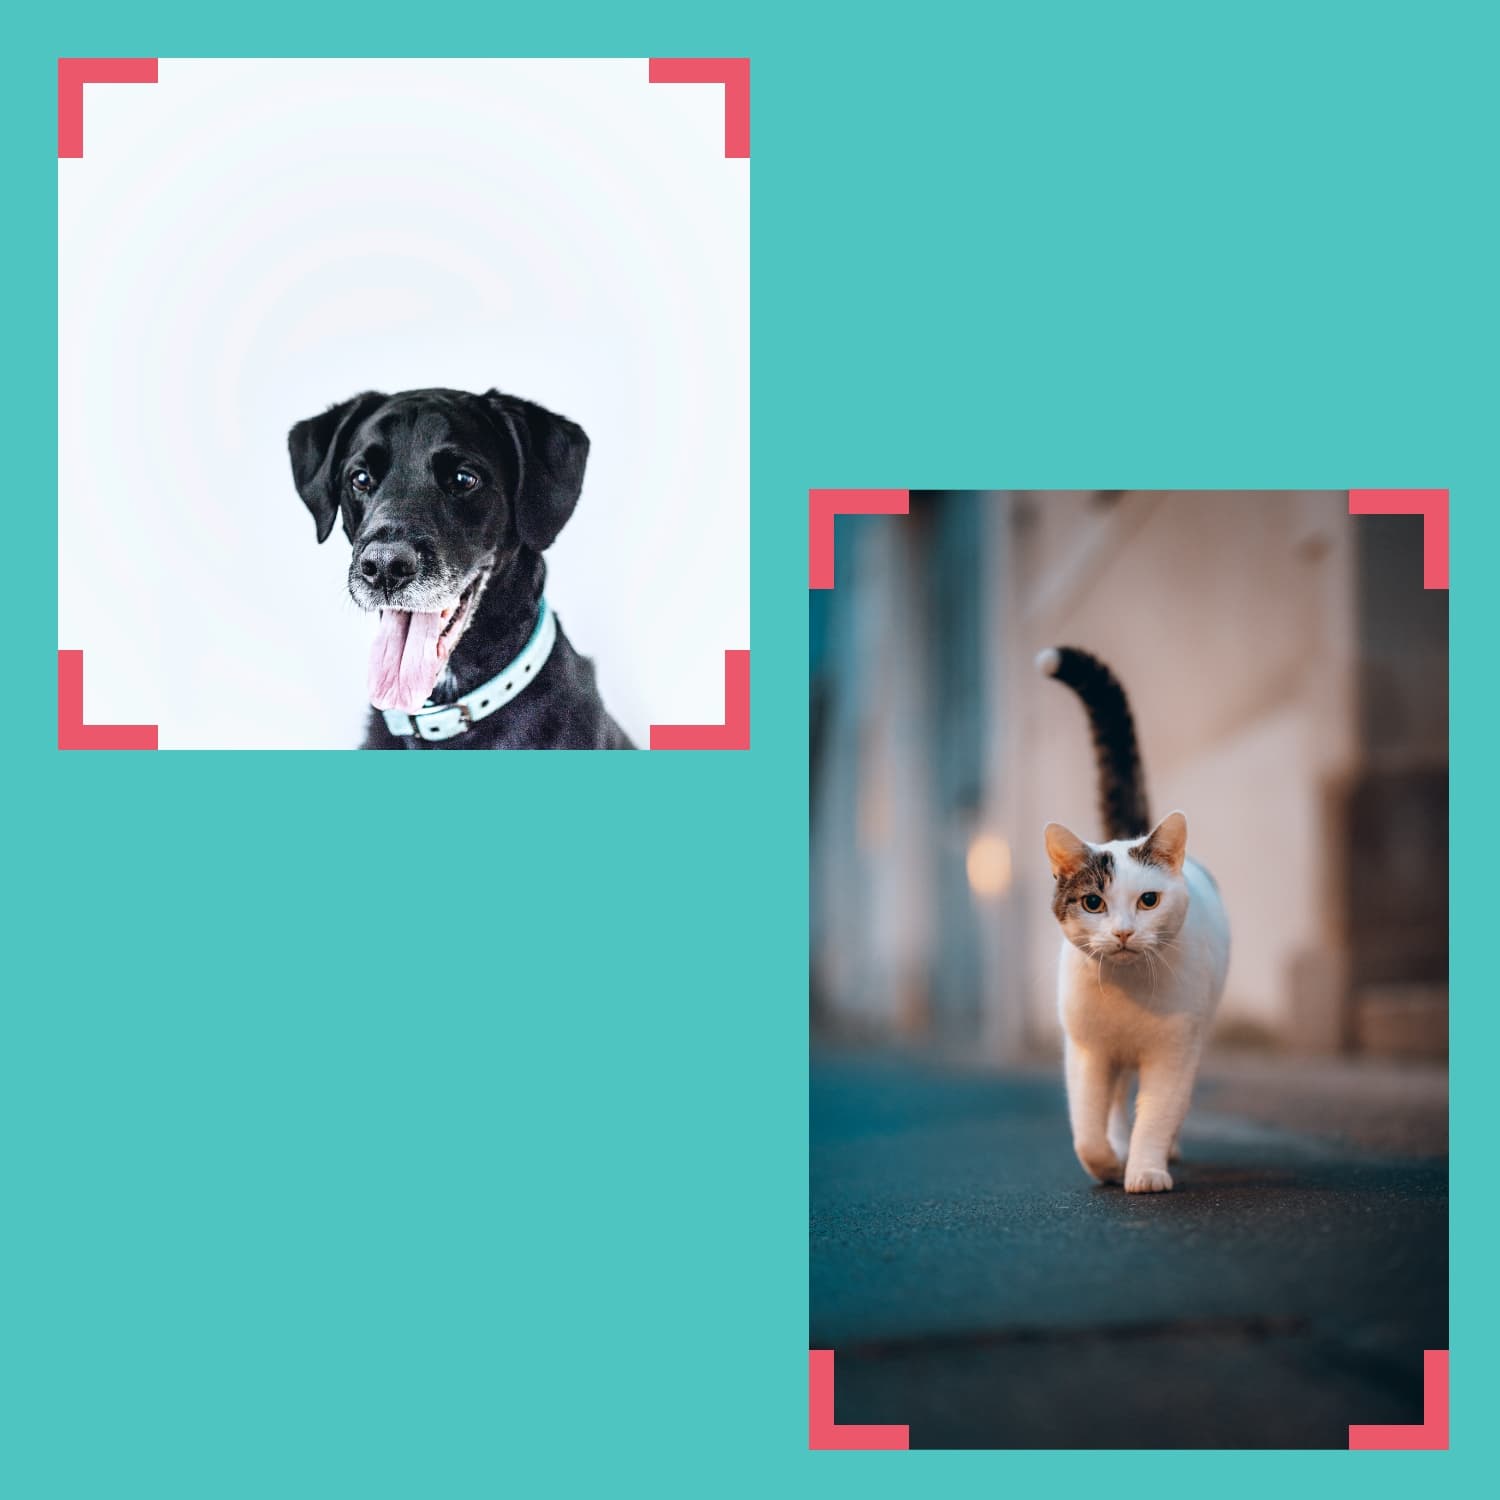
Photo Guide
When you upload your pet photos we'll cut out your pet and render them in a variety of fun and artistic styles that you can add straight to your pet portrait design.
We can work with almost any photo but to get the very best results you can follow our guide to take the perfect photo.
Bodyshots or Headshots
We can render your pet image as bodyshots or headshots.
If you want to create a headshot from an existing full-body photo please crop it on your device before you upload it.
If you're not sure how to crop a photo on your device you can Contact Us 💬 and we'll give you a hand with it.

One Pet or Many Pets
Your photo can contain a single pet or lots of pets.
Sometimes it's useful to take a group photo of your pets if you want to retain their relative sizes and colours but we understand that it's tricky to line up all your pets at once and convince them to look in the same direction.
You can add as many pet images as you like to your pet portrait so feel free to take a group photo or lots of individual photos.

Set the Scene
For best results, place your pet in front of a plain background that's a different colour to your pet. This will ensure that we can detect your pet and all of its furry features.
Try and isolate your pet from other objects unless you are happy for those objects being included in your final pet image.
Watch out for elements like grass or thick carpet which might obscure parts of your pet.
If the only photos you have of your pet have some of it obscured don't worry because we might be able to manually edit them for you. Contact Us 💬 and we'll help you out.

Line Things Up
For best results, take your photo at your pet's eye level and try to get them to look towards your camera lens rather than at you.
You might want to hold up a treat or a toy right next to your camera lens while you take the photo.
Try and fill up as much of the photo area as possible with your pet but make sure to leave a gap around the edges near to any ears, tails, whiskers, hair/fur, or paws to ensure that they're not cut off when we analyse the photo to detect your pet and its features.

Check the Lighting
Make sure your photo has consistent lighting and that your pet doesn't have any harsh shadows cast across it or under it.
Sometimes taking photos using natural light / daylight produces the best results and retains the most natural colours.

Hold Still
Sometimes you or your pets can move a little bit when you're taking the photo and this can sometimes result in some blurriness.
Try to take a photo that is perfectly sharp so that we can extract lots of useful data from it when we render your final pet images.

Upload Original Photos
It might be tempting to upload a screenshot that you took of your favourite pet photo but often this doesn't capture all of the detail that was in the original photo file.
Try to find and upload the original photo from your photo library or device so that we can work with the full size photo file and use all of its image data to create your pet image styles.

Need Some Help?
If you've got any questions about the process or you need help finding or taking the perfect pet photo you can Contact Us 💬 and we'll help you out.
We can also help you crop, edit, and repair photos of pets who are no longer with us, so don't worry if the only photos you have aren't getting the results you'd like — send your favourite ones to us and we'll see what we can do.